 You can give your bakelite or plastic handles a fresh look with a water transfer print for cookware handles. This method lets you apply colorful designs easily.
> Tip: Always handle the film gently to avoid tears or wrinkles during the process.
Key Takeaways
- Prepare the handle by cleaning, sanding, and applying primer and base coat to help the print stick well.
- Dip the handle slowly and evenly into water with the film to avoid bubbles, wrinkles, or tears.
- Seal the design with a clear topcoat to protect it from scratches, moisture, and heat for long-lasting results.
Materials, Preparation, and Film Selection for Water Transfer Print for Cookware Handles
Materials and Tools Needed
You need the right materials to get a good result with water transfer print for cookware handles. Gather these items before you start:
- Water transfer film with your chosen design
- A clean bakelite or plastic handle
- Primer and base coat spray paint (suitable for plastic)
- Scissors
- Masking tape
- A container large enough to dip the handle
- Warm water
- Activator spray
- Gloves and safety glasses
- Soft cloth or paper towels
- Clear topcoat spray
Tip: Wear gloves to keep fingerprints off the handle and film.
Surface Preparation Steps
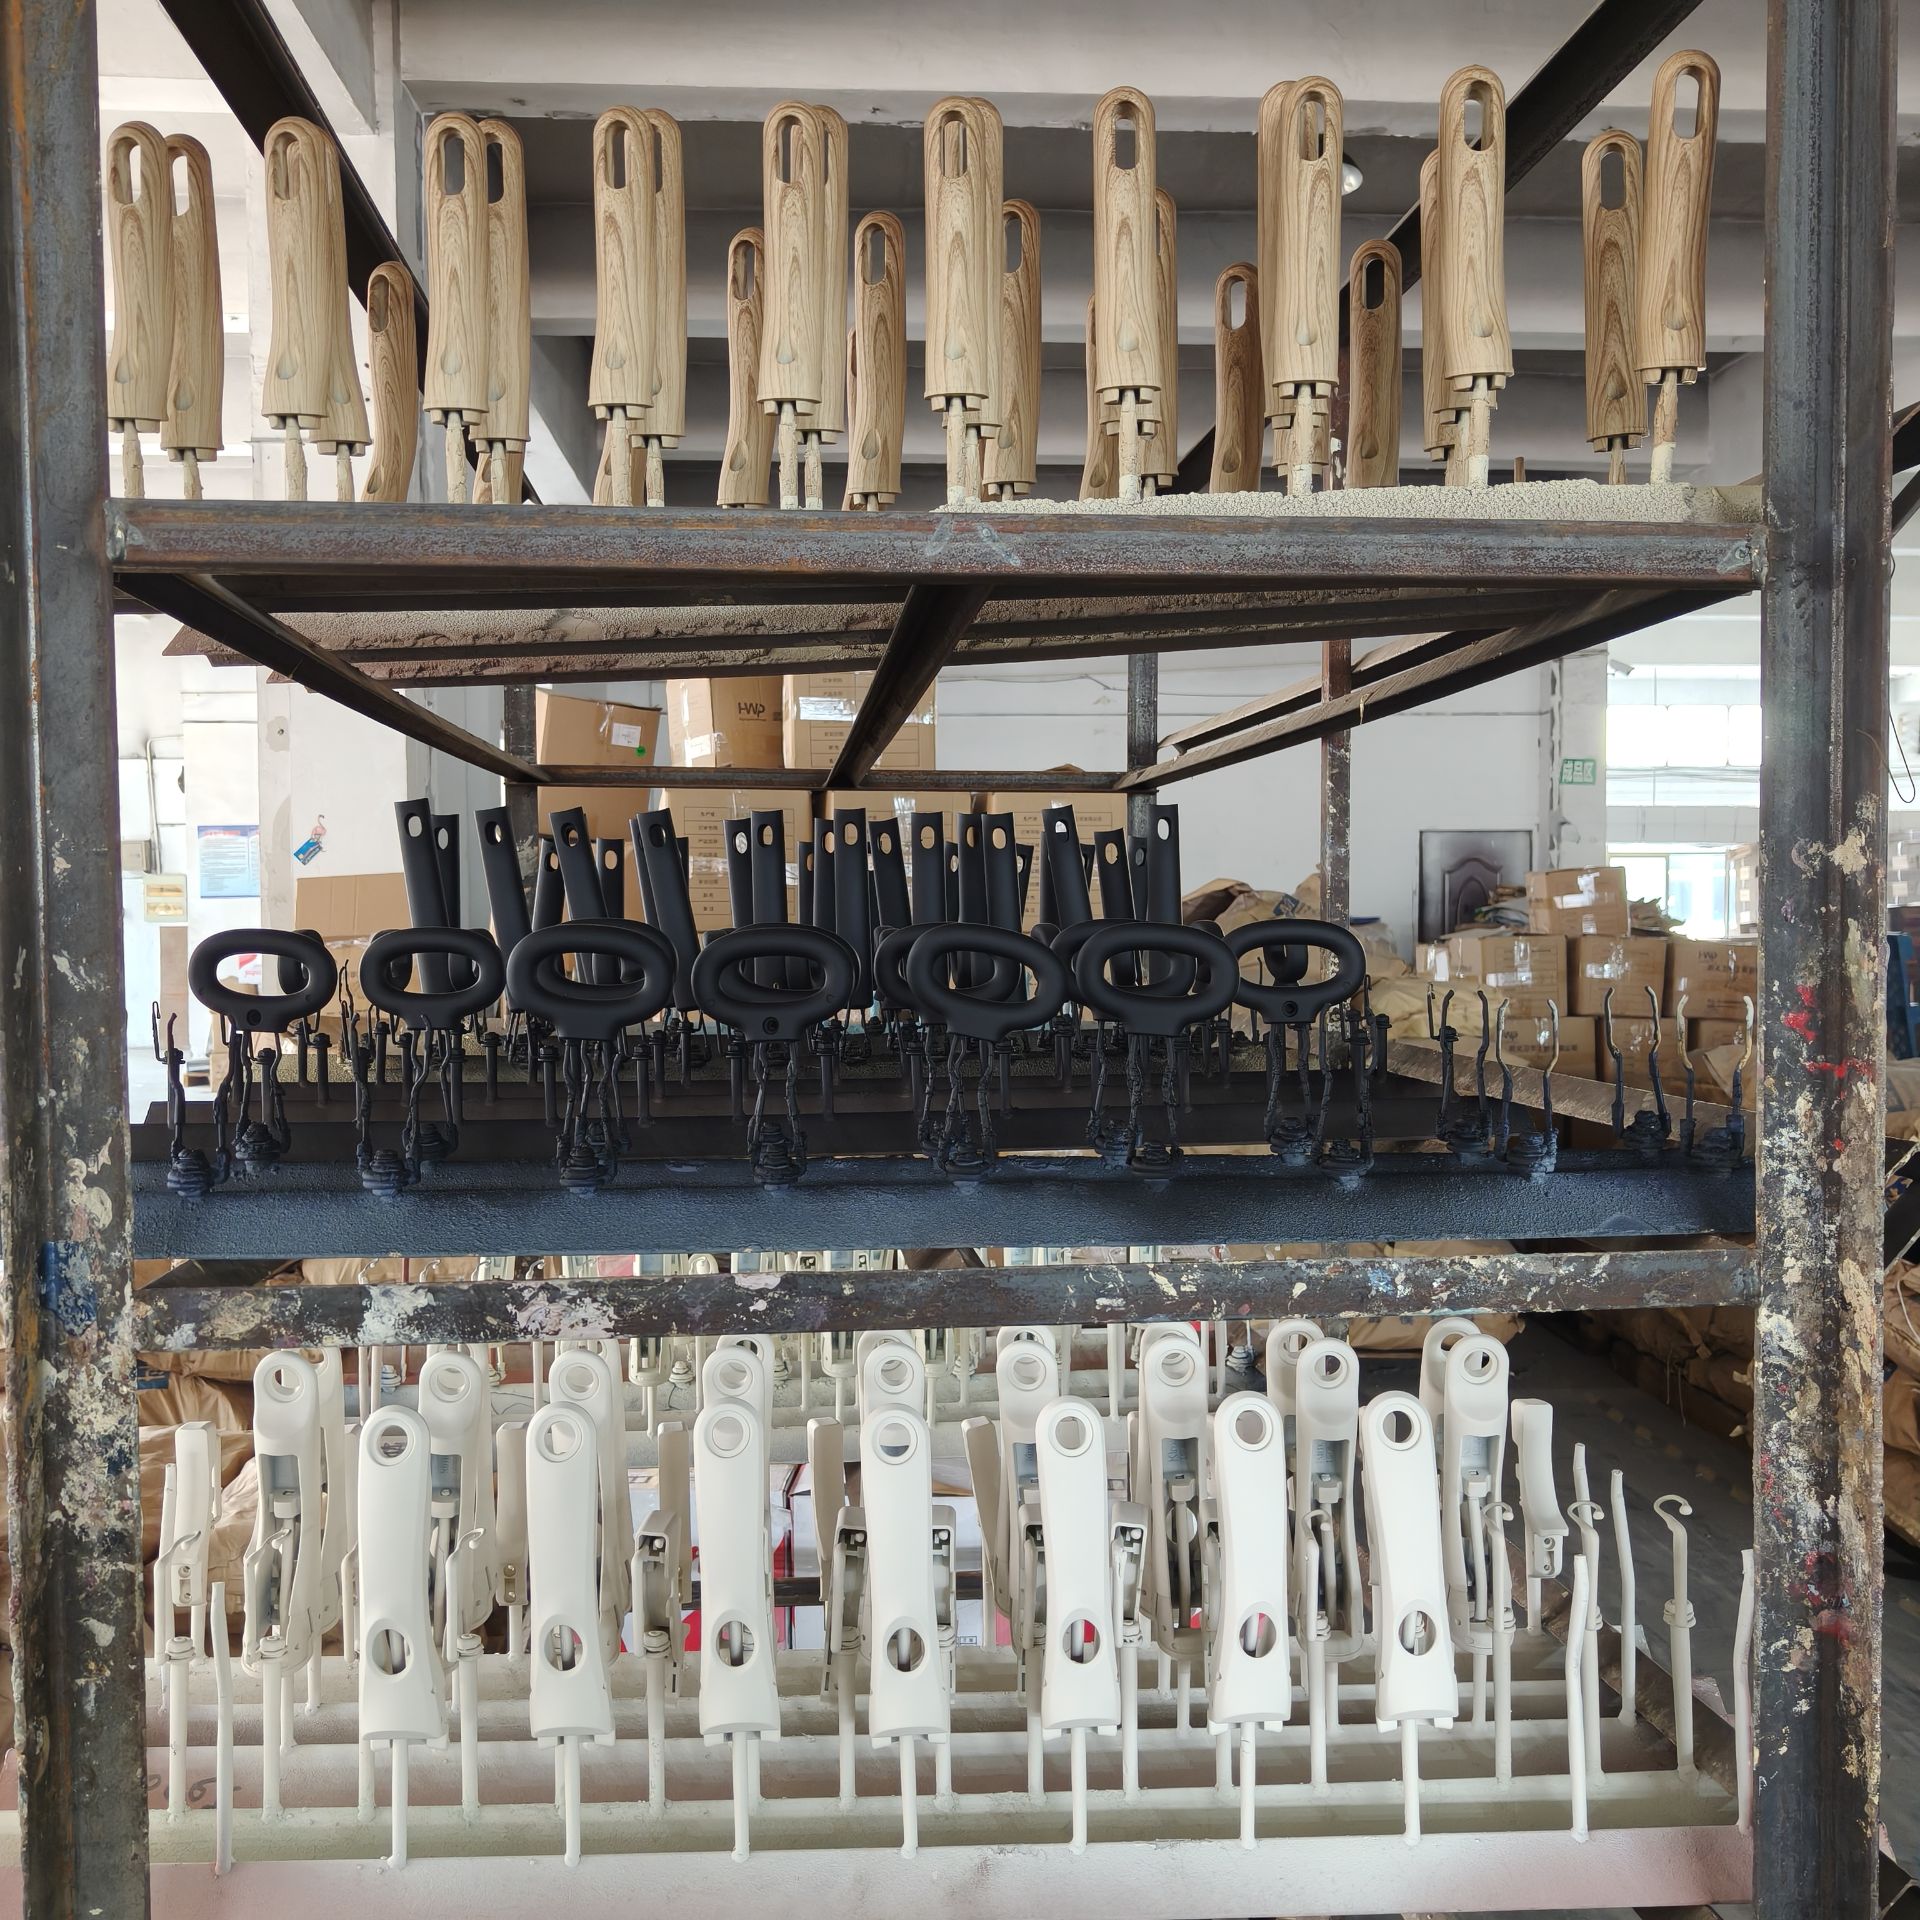
You must prepare the handle surface to help the print stick well. First, wash the handle with soap and water to remove grease or dirt. Dry it with a soft cloth. Lightly sand the surface with fine-grit sandpaper. This step helps the paint and film grip better. Wipe away dust with a clean towel. Spray a thin layer of primer and let it dry. Then, apply a base coat in a color that matches your film. Let the base coat dry fully before moving on.
Choosing and Preparing the Water Transfer Film
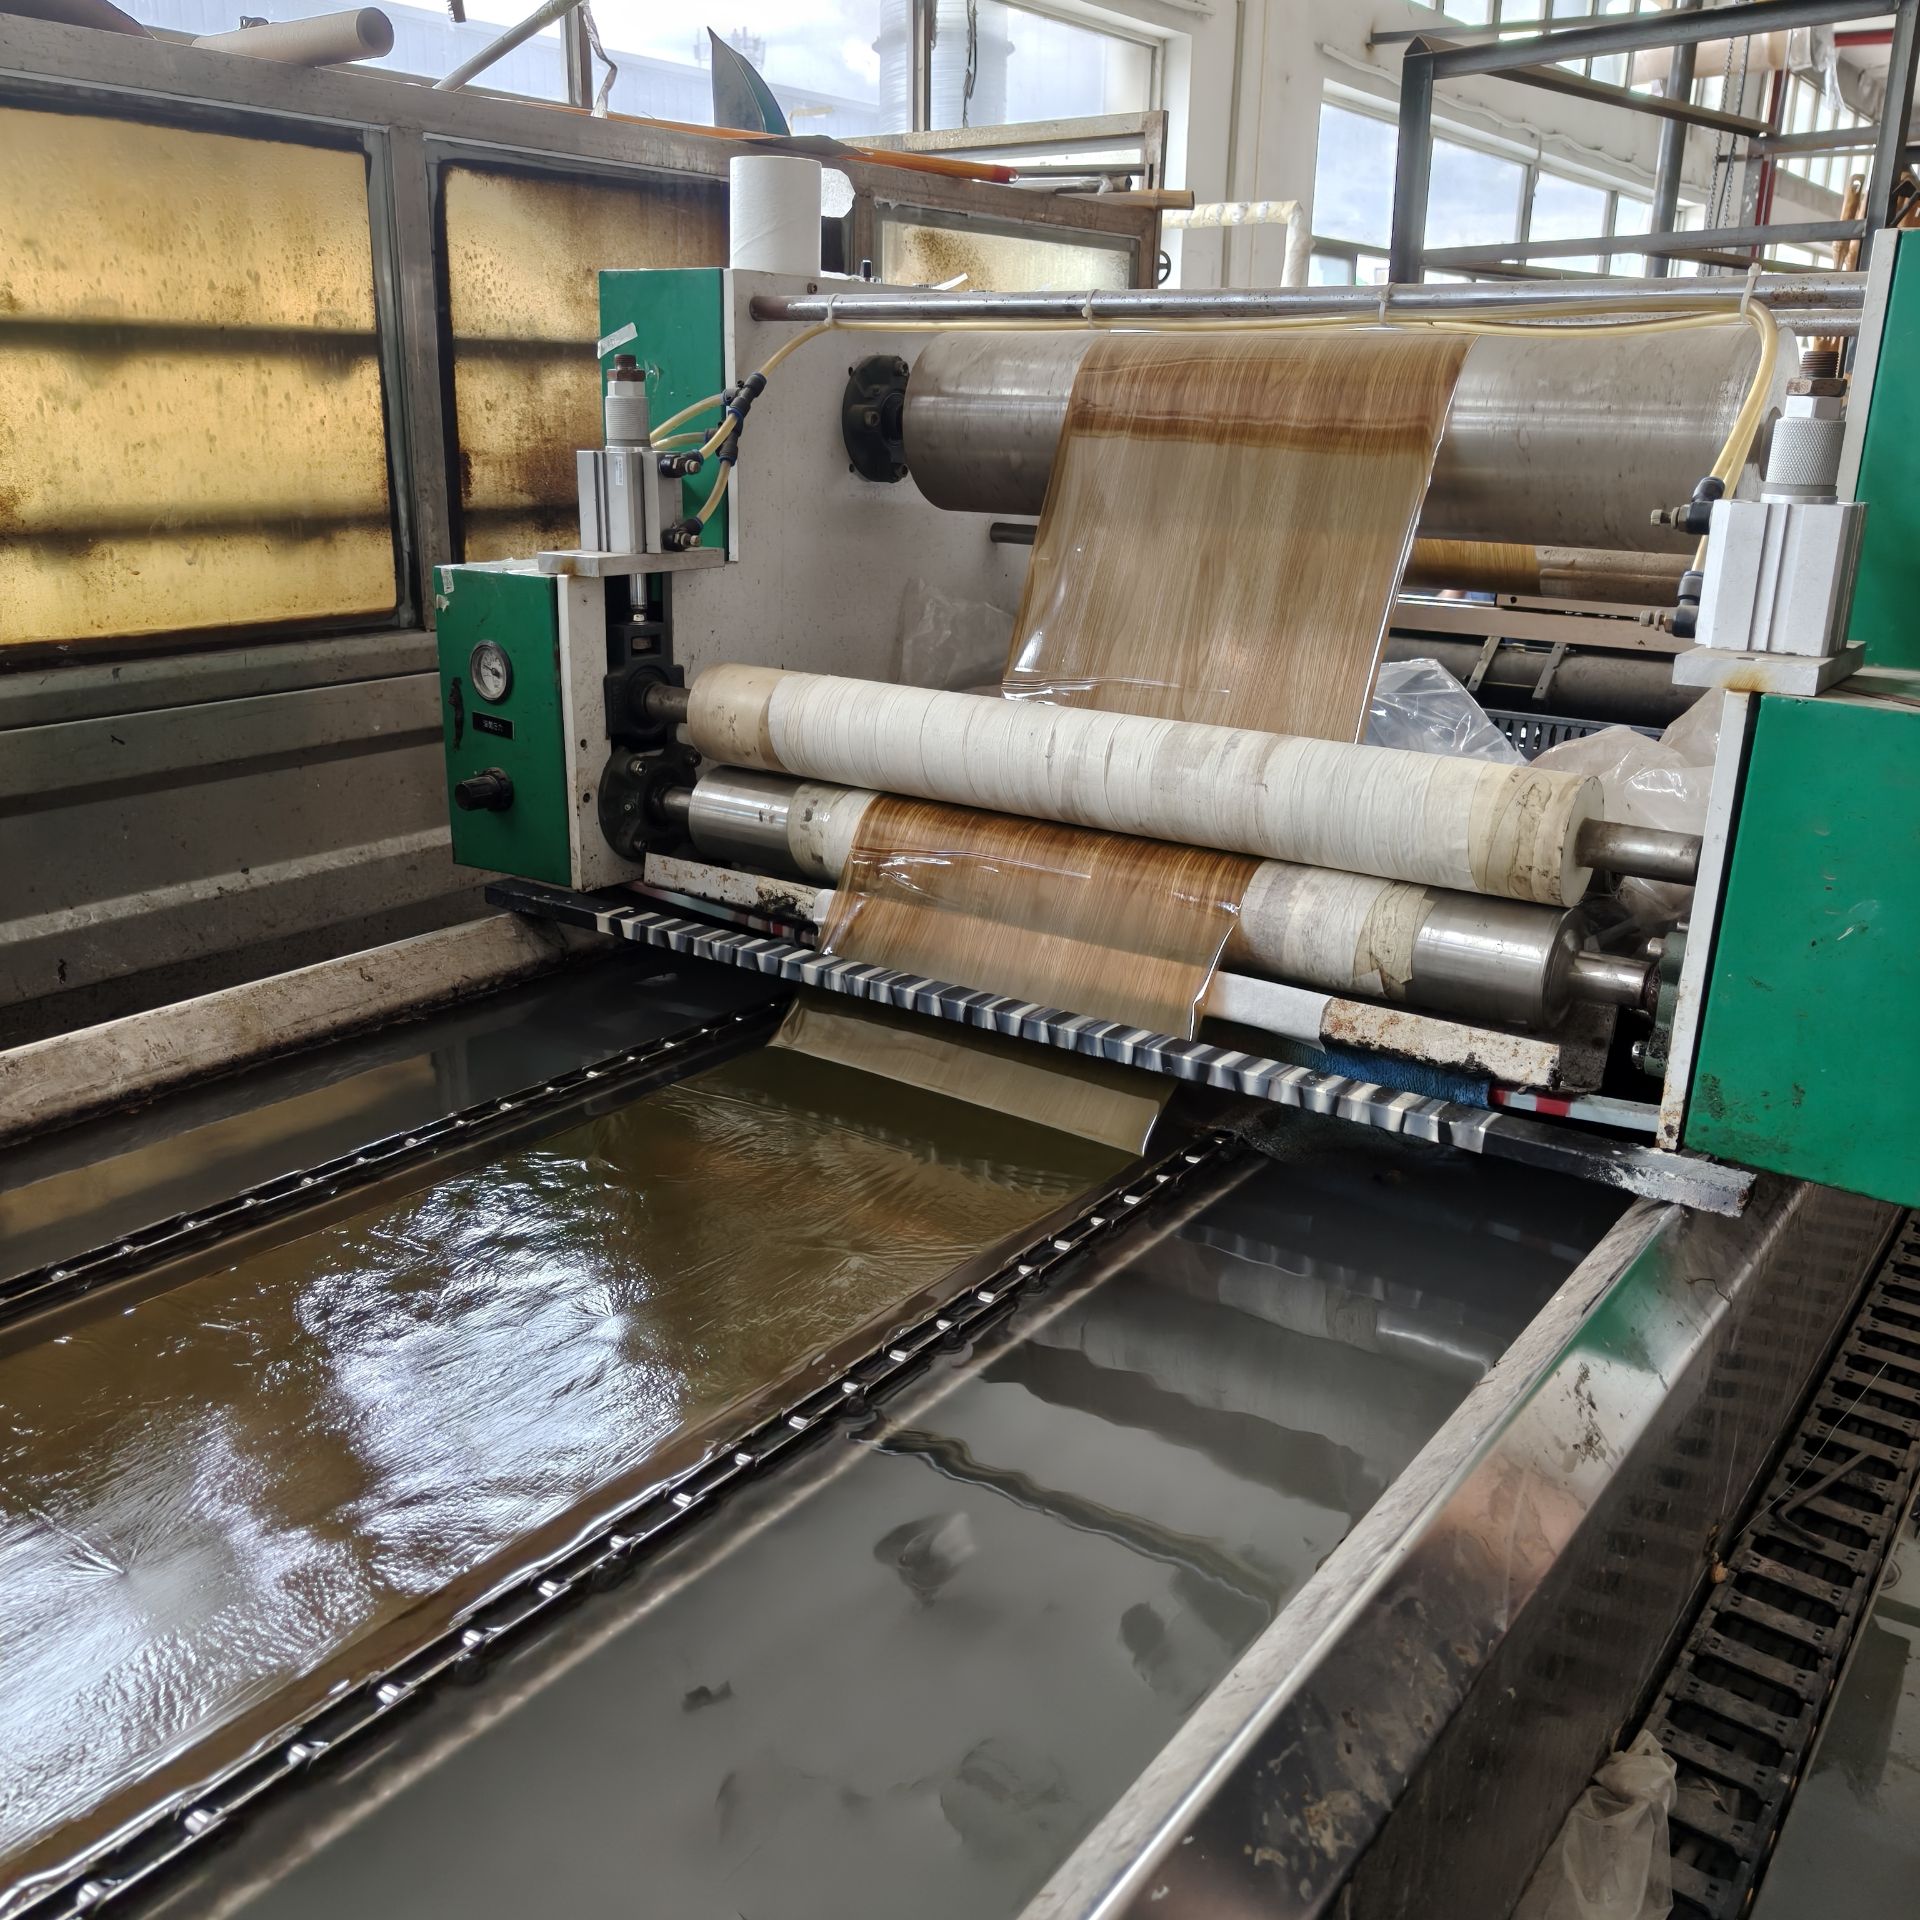
Pick a water transfer film that fits the size and shape of your handle. Cut the film slightly larger than the area you want to cover. Store unused film in a dry place. Before dipping, check the film for any damage. Lay the film on the water’s surface with the printed side up. Wait for the film to soften, then spray the activator evenly. This step makes the film ready to wrap around your handle. Now, you can move on to the next steps of the water transfer print for cookware handles process.
Application, Rinsing, and Finishing Techniques for Water Transfer Print for Cookware Handles
 Applying the Water Transfer Print
You need to dip the handle into the water to transfer the design. Hold the handle at a slight angle. Lower it slowly into the water where the film floats. Move at a steady pace. Let the film wrap around the handle as you push it through the surface. Do not rush this step. If you move too fast, the film may tear or create bubbles.
Tip: Use a gentle, even motion to avoid wrinkles or air pockets.
Once the handle is fully submerged, keep it underwater for a few seconds. This helps the film stick well. Gently shake the handle in the water to loosen any extra film.
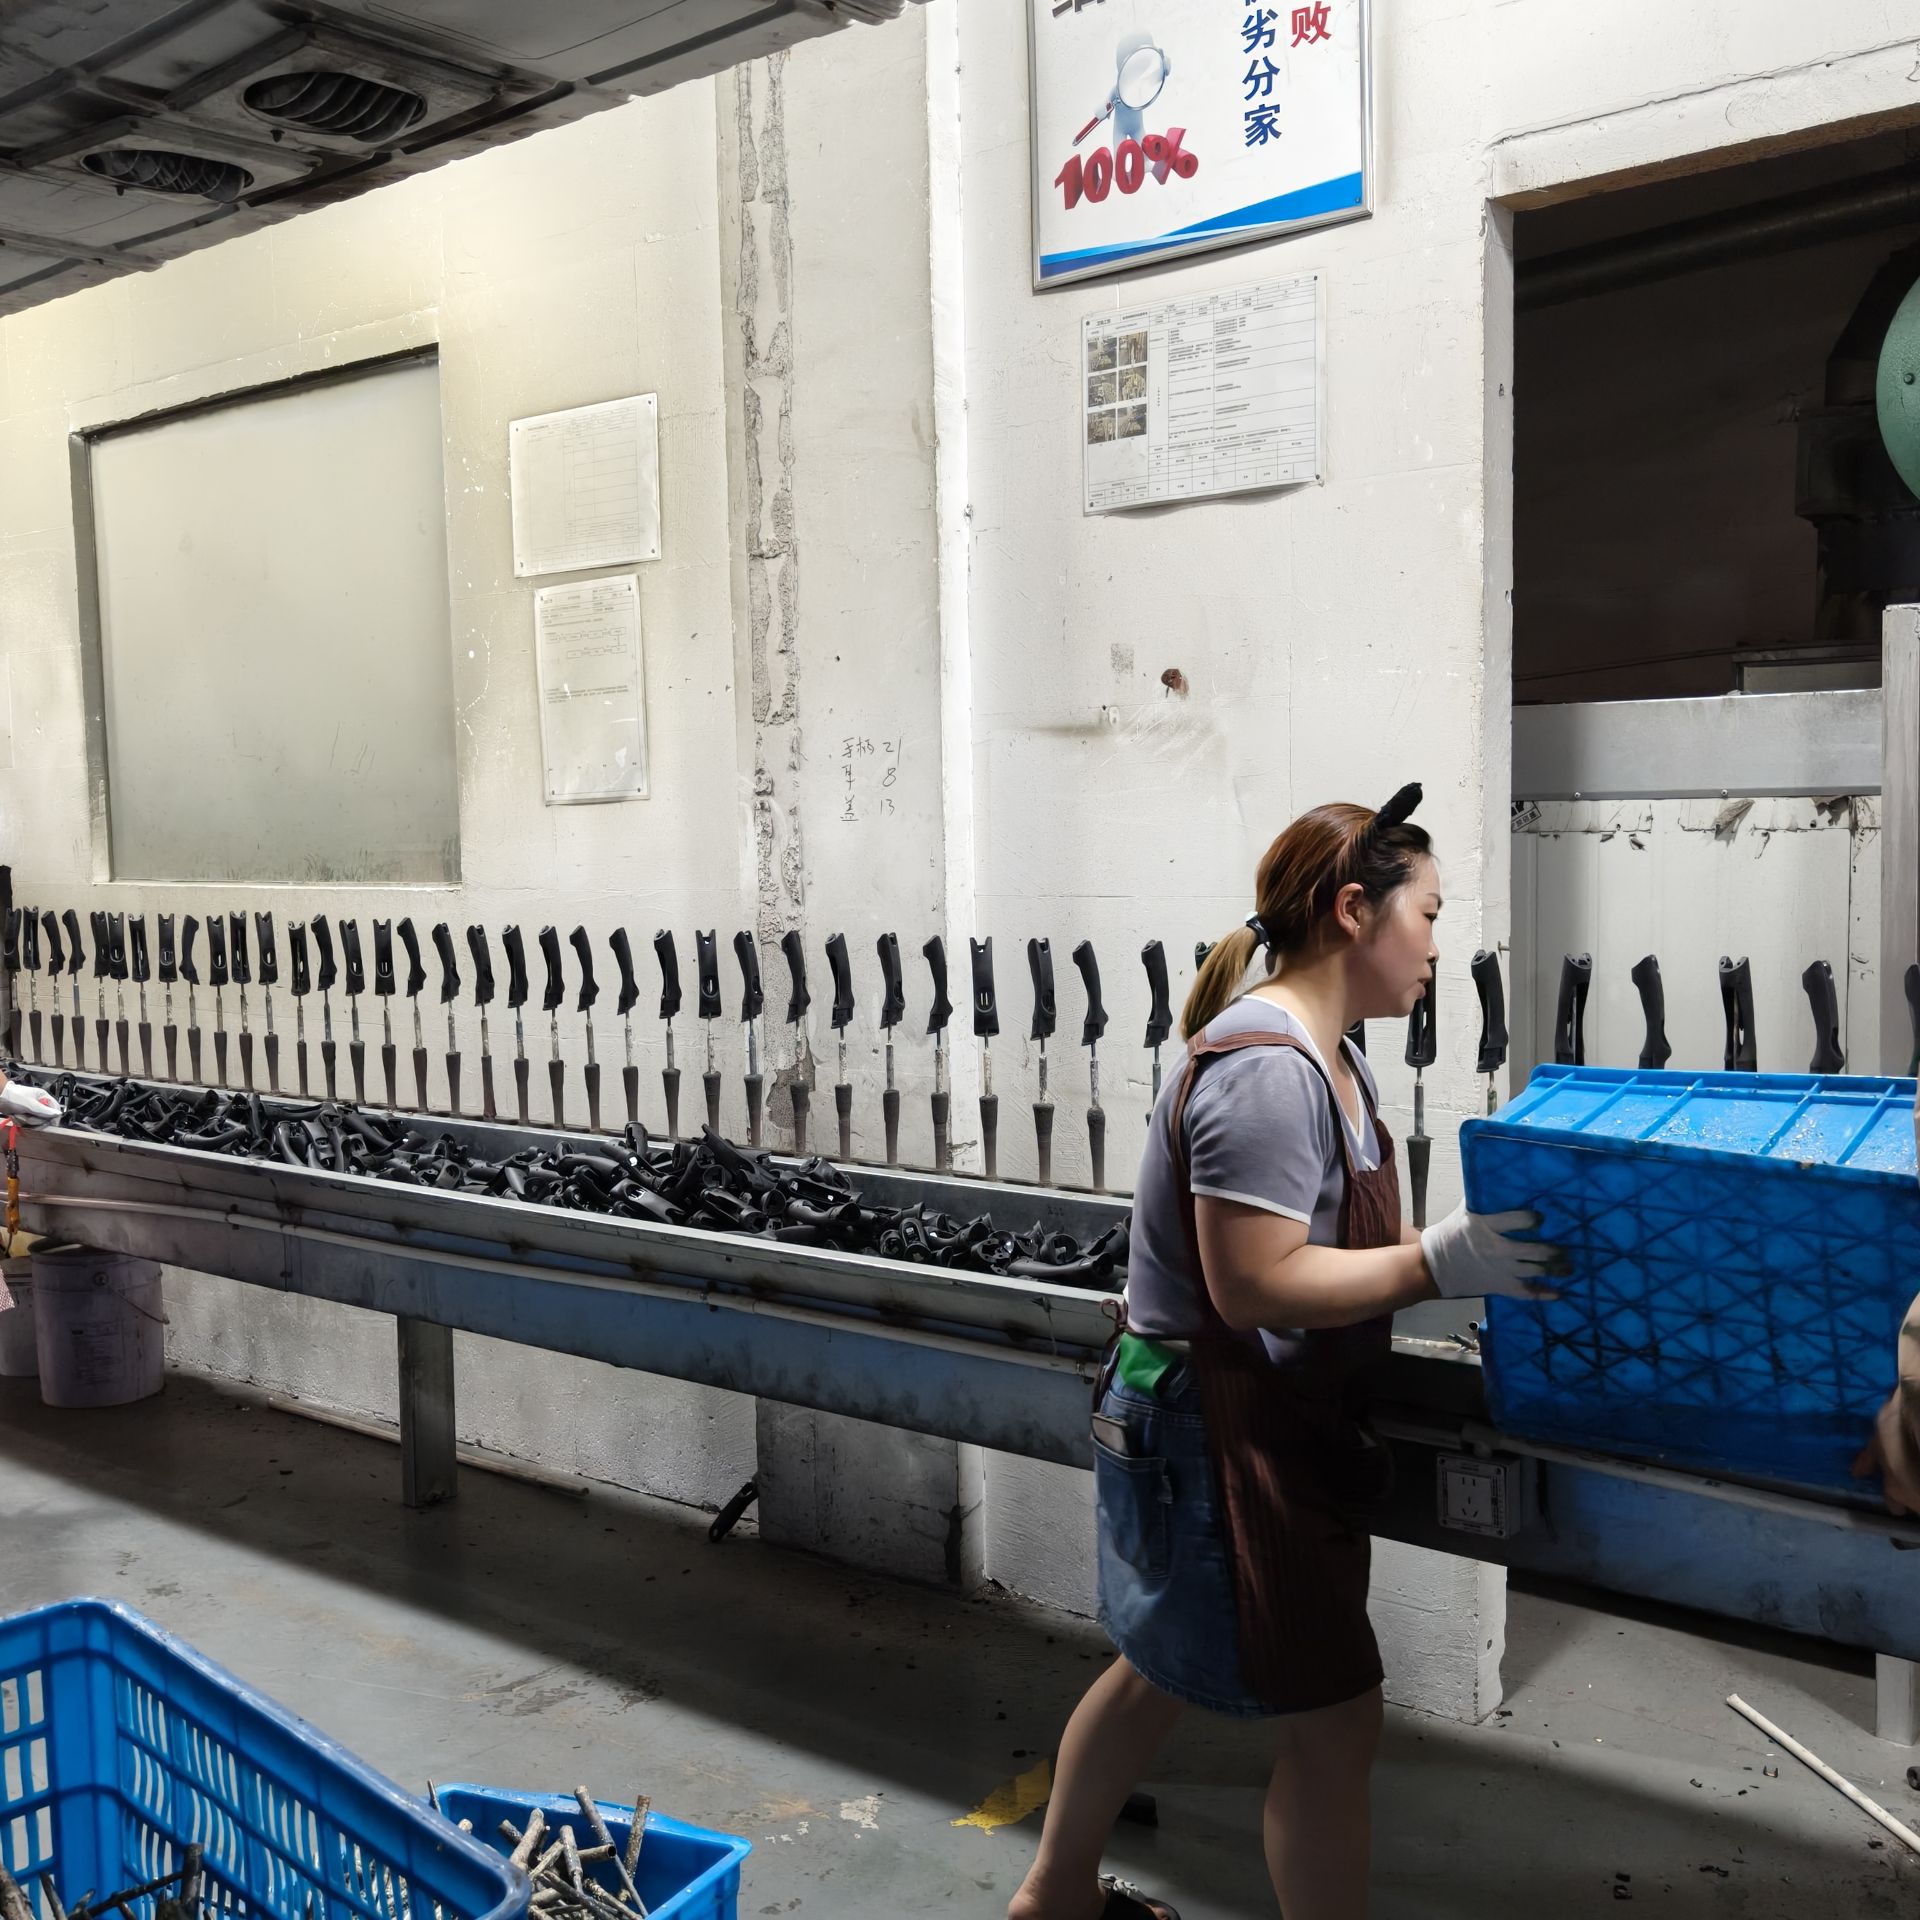
Rinsing and Drying the Printed Handle
After you finish dipping, you must rinse the handle. Use clean, lukewarm water. Rinse off any sticky residue left by the film. Turn the handle slowly under the water to reach all sides. Do not scrub hard. You want to keep the design safe.
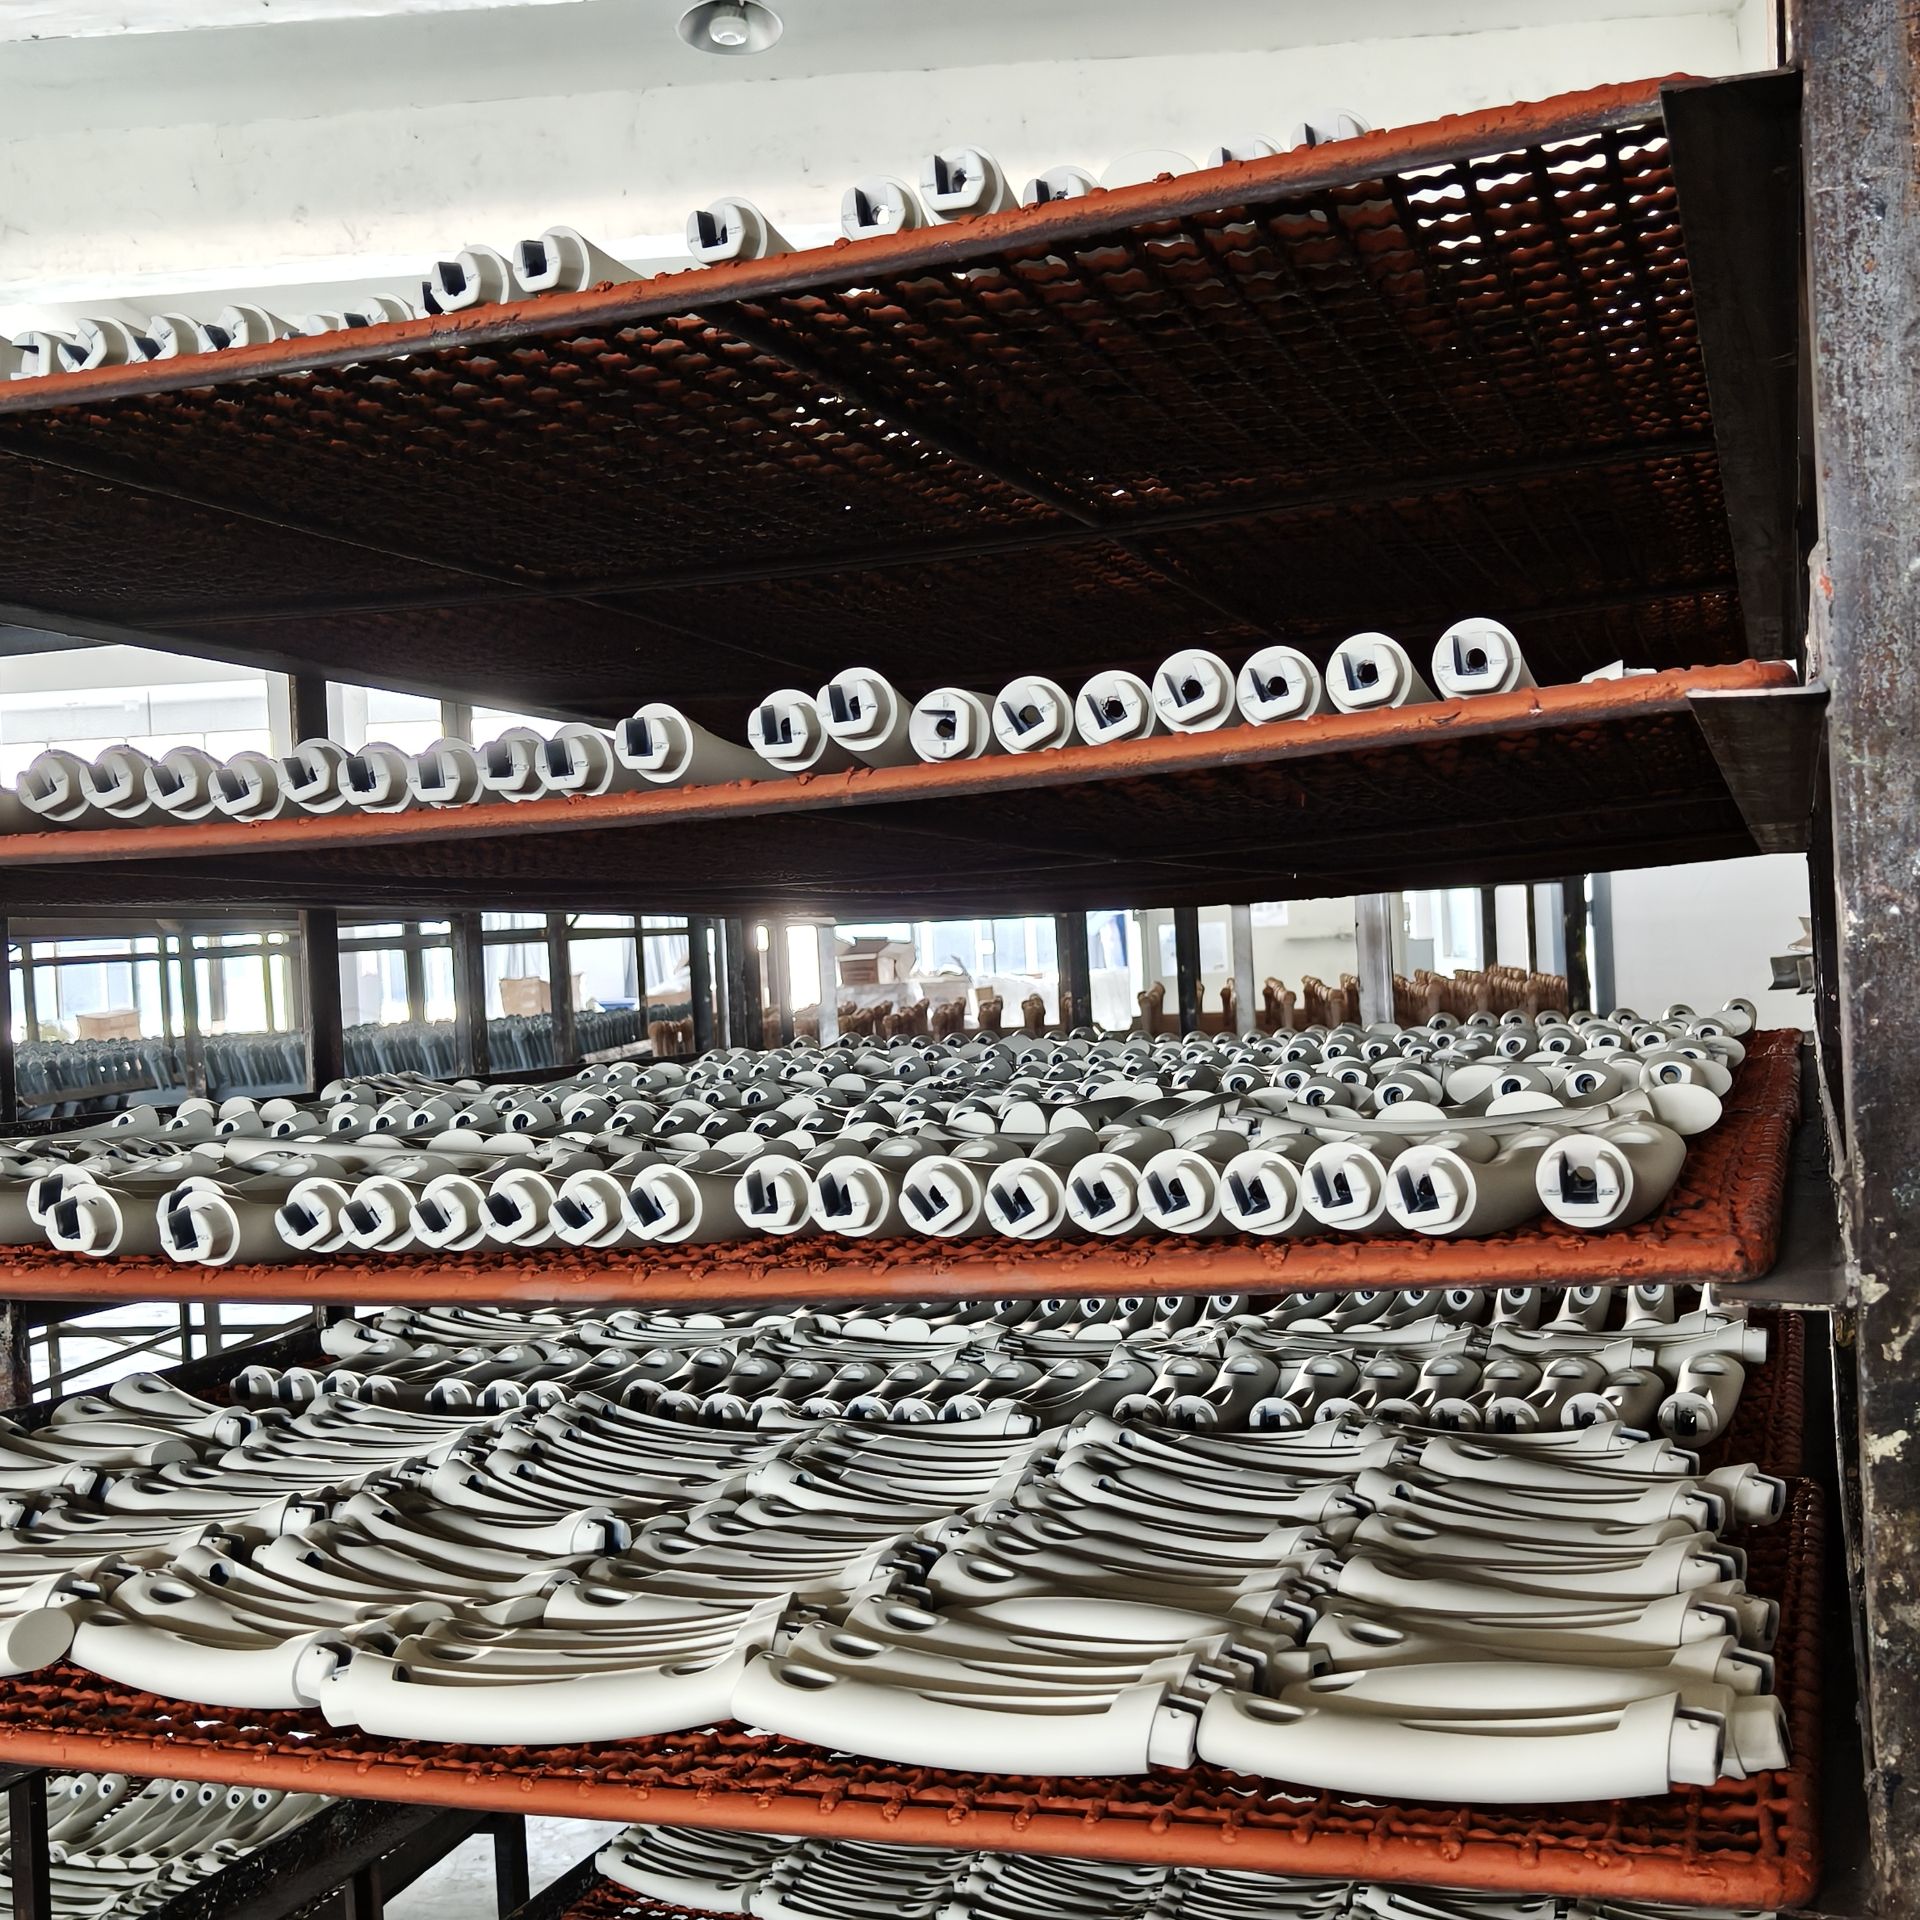
Place the handle on a soft towel to dry. Let it air dry in a dust-free area. Do not use a hair dryer or heat gun. High heat can damage the print.
Sealing and Finishing for Durability
You need to protect your new design. Spray a clear topcoat over the handle. Hold the spray can about 8-10 inches away. Apply a light, even coat. Let it dry for at least 30 minutes. For extra strength, add a second coat after the first one dries.
A good topcoat keeps the water transfer print for cookware handles looking new. It also protects the design from scratches and moisture.
Note: Always use a topcoat that is safe for cookware handles and can handle heat.
Troubleshooting Common Issues
Sometimes, problems can happen during the water transfer print for cookware handles process. Here are some common issues and how you can fix them:
| Problem | Cause | Solution |
|---|---|---|
| Bubbles or wrinkles | Dipping too fast | Dip slowly and evenly |
| Film not sticking | Poor surface prep | Clean and sand the handle again |
| Blurry design | Too much activator | Use less activator spray |
| Peeling after drying | No topcoat or poor drying | Apply a proper clear topcoat |
If you see any mistakes, you can sand the handle lightly and try again. Practice helps you get better results each time.
You can achieve great results with water transfer print for cookware handles by following each step carefully. Try different designs and practice your technique. Careful preparation and a strong finish help your print last longer. Remember, patience and attention to detail make your project look professional.
FAQ
How long does the water transfer print last on a handle?
You can expect the print to last for years if you apply a good topcoat and avoid harsh scrubbing. Handle with care for best results.
Can you use any water transfer film for cookware handles?
You should choose a film that can handle heat and fits the handle’s shape. Some films work better for curved or small surfaces.
What should you do if the film tears during dipping?
You can remove the damaged film, sand the handle, and start again. Practice helps you avoid tears. Take your time for better results.
Post time: Jun-16-2025