Stainless steel pots are kitchen staples, but over time, cookware handles can loosen or detach due to heat, wear, or accidental drops. A wobbly handle isn’t just annoying—it’s a safety hazard. Fortunately, reattaching a stainless steel pot handle is simpler than you might think! In this guide, we’ll walk you through the best methods to fix it securely, whether you’re dealing with screws, rivets, or adhesive solutions.
Why Do Stainless Steel Pot Handles Come Loose?
Before diving into repairs, understand the common causes:
- Heat exposure: Repeated heating/cooling weakens metal joints.
- Loose screws/rivets: Daily use can cause fasteners to wear out.
- Impact damage: Dropping the pot may bend or break the handle attachment.
Knowing the cause helps you choose the right repair method!
Tools & Materials You’ll Need
- Screwdriver (flathead or Phillips, depending on your pot)
- Replacement screws/rivets (check size and material)
- High-temperature epoxy or metal adhesive (e.g., J-B Weld)
- Pliers or a rivet gun
- Safety gloves & goggles
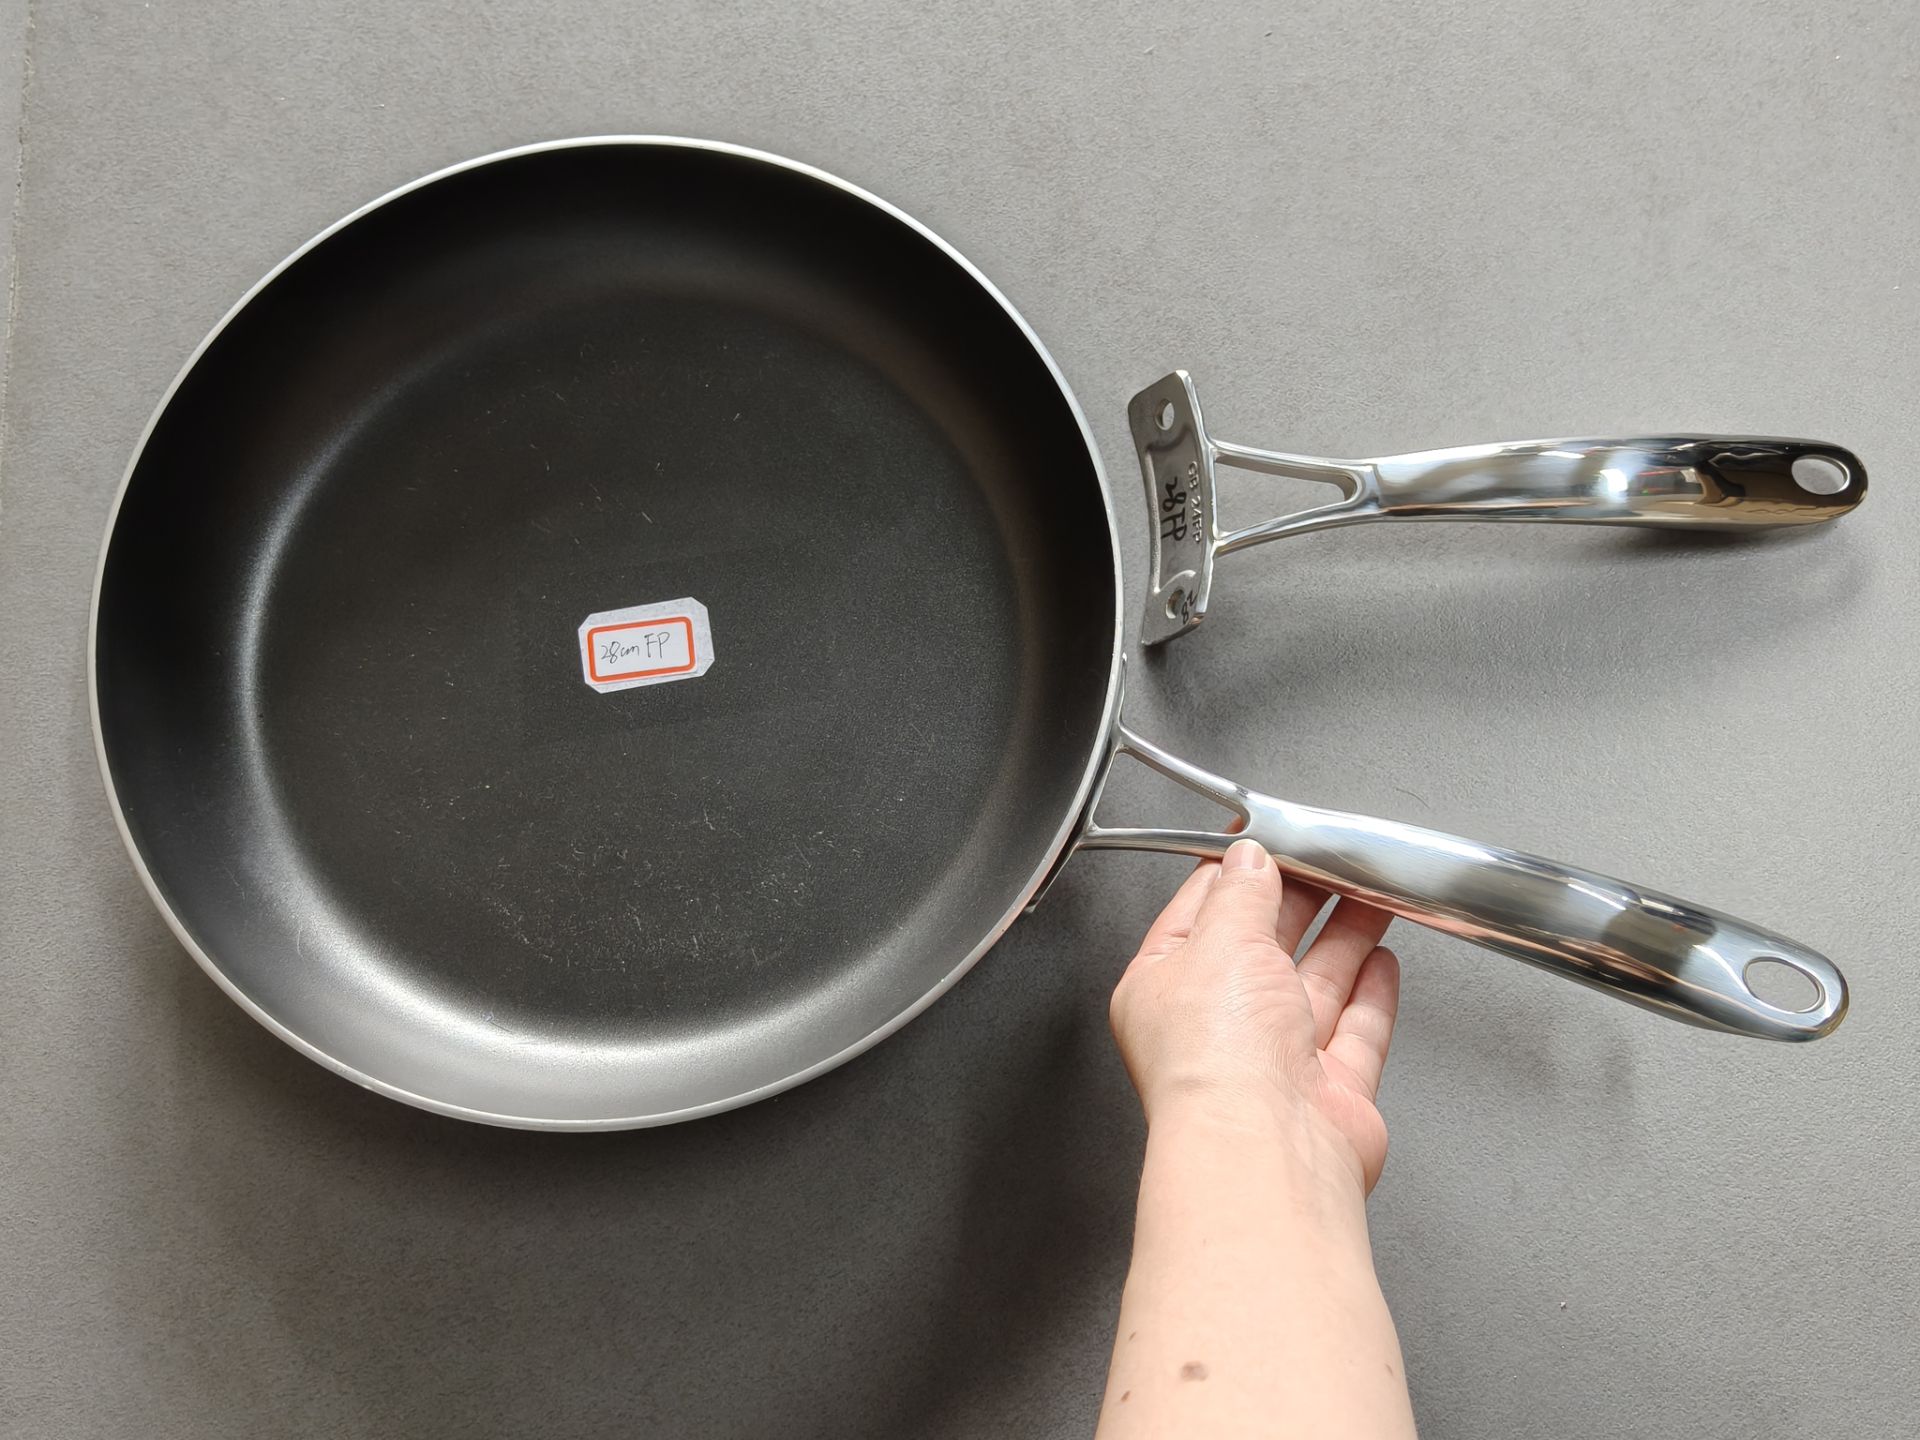
Method 1: Tightening or Replacing Screws
Most stainless steel pots use screws to attach handles. Here’s how to fix them:
- Inspect the handle: Locate the screws (often hidden under silicone covers).
- Tighten screws: Use a screwdriver to secure loose screws. Avoid over-tightening to prevent stripping.
- Replace damaged screws: If screws are stripped or rusted, swap them with stainless steel or heat-resistant alternatives.
Pro Tip: Apply a drop of thread-locker (e.g., Loctite) to prevent future loosening.
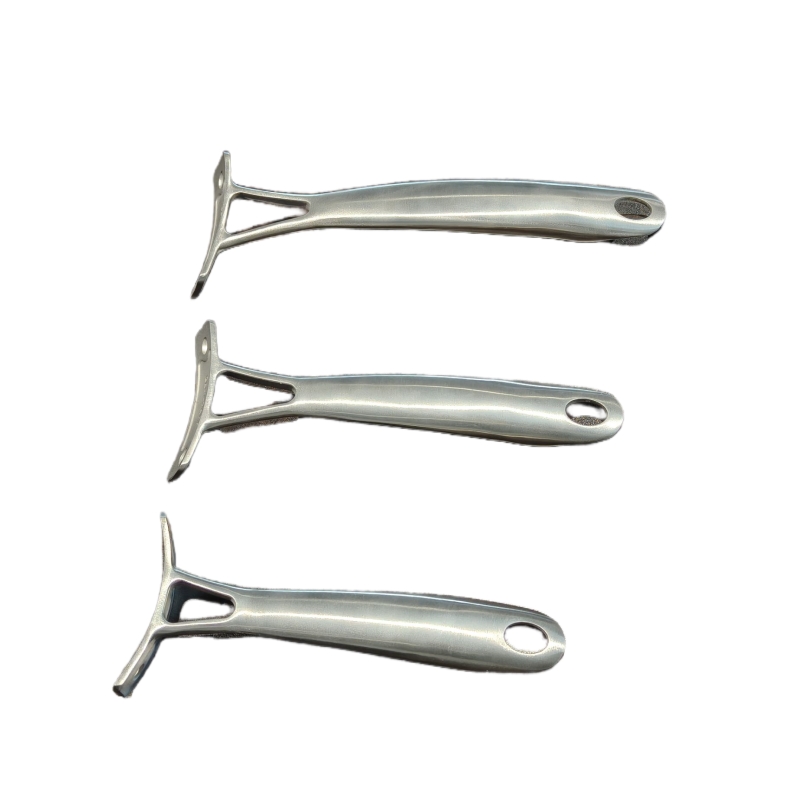
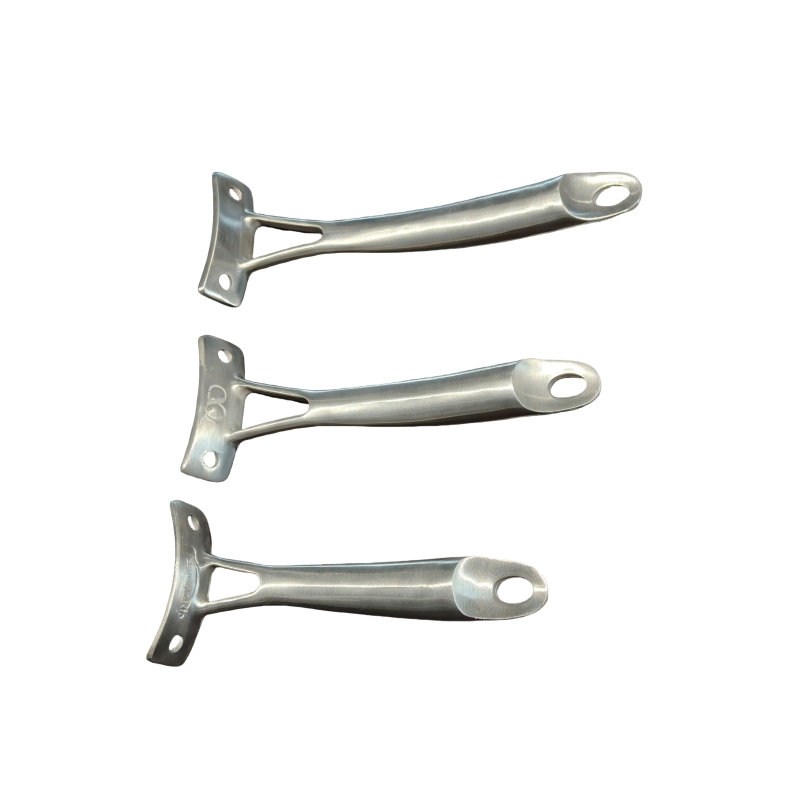
Method 2: Re-Riveting the Handle
Many commercial pots use rivets for a seamless look. Re-riveting requires more effort but ensures durability:
- Drill out old rivets: Use a drill bit slightly larger than the rivet head.
- Insert new rivets: Align the handle and pot, then secure with stainless steel rivets.
- Secure with a rivet gun: Compress the rivet until snug.
Note: Stainless steel rivets resist corrosion and heat better than aluminum.
Method 3: Using High-Temperature Epoxy
If screws or rivets aren’t an option (e.g., broken threads), a strong adhesive can work:
- Clean surfaces: Remove grease and debris with rubbing alcohol.
- Mix epoxy: Follow the product instructions (e.g., J-B Weld requires equal parts).
- Apply adhesive: Spread a thin layer on both the handle and pot.
- Clamp and cure: Hold the Stainless steel handle firmly for 15–30 minutes, then let it cure for 24 hours.
Warning: Avoid using the pot until the adhesive fully cures.
Safety Tips for Handle Repairs
- Always wear gloves and eye protection when drilling or handling adhesives.
- Test the handle’s strength before using the pot for cooking.
- Avoid cheap adhesives—opt for brands rated for 500°F+ temperatures.
FAQs
Q: Can I superglue a pot handle?
A: Regular superglue isn’t heat-resistant. Use a high-temperature epoxy instead.
Q: How do I know if my pot handle is riveted or screwed?
A: Check for visible screw heads (often under silicone caps) or smooth, button-like rivets.
Q: Should I repair or replace the pot?
A: If the pot itself is damaged (e.g., warped base), consider replacing it for safety.
Post time: May-20-2025